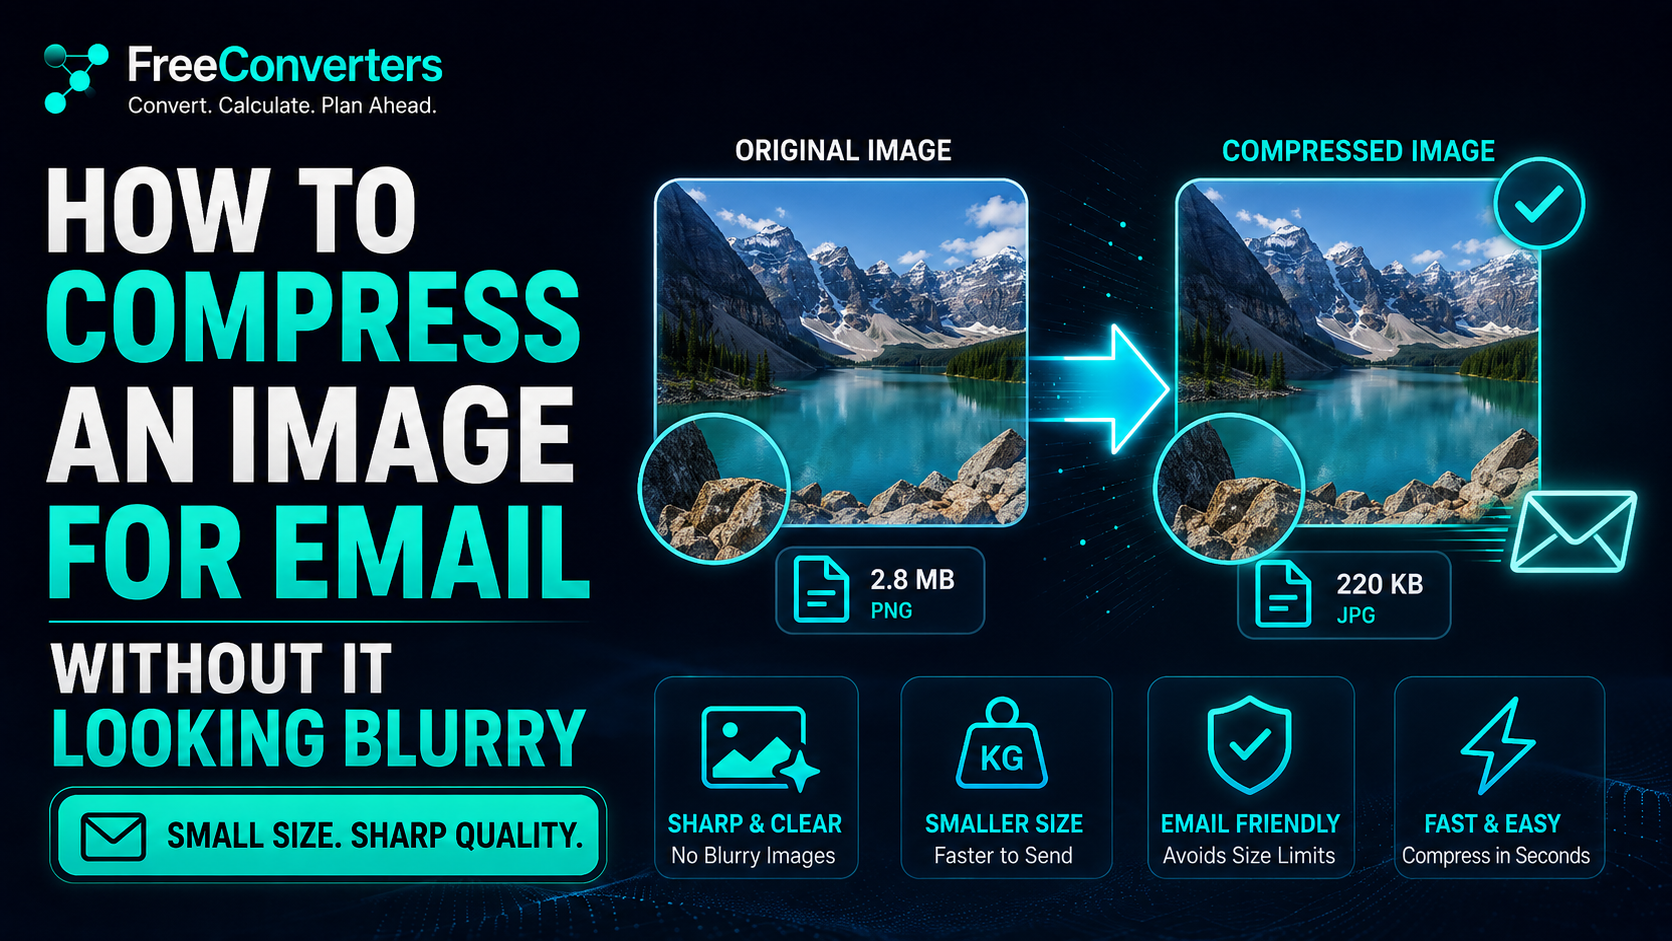
How to Compress an Image for Email Without It Looking Blurry
You attach a photo to an email, hit send, and get the dreaded bounce-back: "message too large." So you compress it quickly using whatever tool is closest at hand — and now the image looks soft, pixelated, and noticeably worse than the original. This is one of the most common frustrations in everyday digital life, and it happens because most people compress images incorrectly.
The good news is that you can compress an image for email without it looking blurry. It just takes understanding a little bit about how compression actually works and using the right tool with the right settings.
How do you compress an image for email without it looking blurry? Use a free online image compressor that reduces file size through smart, optimized compression rather than simply lowering resolution. The Free Convertorsimage compressor does exactly this — shrinking your file size significantly while keeping the photo sharp and clear.
This guide explains exactly why images get blurry when compressed, how to avoid it, and the best free tools and methods to compress any image cleanly for email.
Why Do Images Look Blurry After Compression?
To properly compress an image, it helps to understand what actually happens when a file gets smaller.
Every digital photo is made up of pixels — tiny colored dots that together form the picture. The more pixels packed into an image, and the more detail stored in each one, the larger the file size. Compression reduces file size by either removing some of that pixel detail (lossy compression) or by reorganizing the data more efficiently without removing any of it (lossless compression).
The blurriness problem happens specifically with lossy compression when it is pushed too aggressively. JPEG, the most common photo format, uses lossy compression by default. At moderate compression levels, JPEG can shrink a file by 70 to 90 percent with almost no visible quality loss. But push the compression too far, and the algorithm starts discarding so much pixel detail that the image becomes soft, blocky, or pixelated — especially around sharp edges, text, and fine detail.
The key insight is this: blurriness is not caused by compression itself. It is caused by over-compression. A well-calibrated compression tool finds the sweet spot — maximum file size reduction with minimal visible quality loss.
Lossy vs Lossless Compression — What Is the Difference?
Understanding this distinction is the single most useful thing you can learn before compressing any image.
Lossless Compression: Reduces file size by reorganizing and encoding existing data more efficiently, without discarding any data. PNG uses lossless compression. The image quality remains mathematically identical to the original, but file size reduction is typically much smaller than what lossy compression can achieve — often only 10 to 30 percent.
For email attachments, lossy compression (used intelligently) is almost always the better choice because it produces dramatically smaller file sizes while maintaining visual quality high enough that the human eye cannot detect the difference at normal viewing sizes.
Resizing vs Compressing — These Are Not the Same Thing
This is a common point of confusion. Resizing and compressing are two different processes, and conflating them is often what causes images to come out blurry.
Resizing changes the pixel dimensions of an image — for example, shrinking a 4000 x 3000-pixel photo to 1200 x 900 pixels. This reduces file size because there are simply fewer pixels to store. However, if you view a resized image at a larger size than its new dimensions, it will look blurry because there is not enough pixel data to fill the space clearly.
Compressing keeps the pixel dimensions the same but reduces the amount of data used to describe each pixel's color and detail. Good compression tools apply just enough compression to significantly reduce the file size while preserving enough visual data for the image to still look sharp at its original dimensions.
For most email use cases, a combination of mild resizing (if the original photo is extremely high resolution) plus smart compression gives you the best result — a small file that still looks crisp on screen.
What Is the Best Free Tool to Compress an Image for Email?
The Free Converters image compressor is built specifically to solve this problem. It uses an optimized compression algorithm that intelligently reduces file size while preserving visual sharpness — avoiding the heavy-handed compression that causes blur and pixelation in lower-quality tools.
It works entirely in your browser, requires no software installation or account creation, and supports JPG, PNG, and other common image formats. You simply upload your photo, the tool compresses it automatically, and you download the optimized file — typically with a 60 to 90 percent reduction in file size and no visible loss of quality
How to Compress an Image for Email — Step by Step (Online Tool)
Here is the complete walkthrough using the free online compressor.
Step 1 — Go to the Image Compressor
Open your browser and visit. The tool works on desktop and mobile browsers alike.
Step 2 — Upload Your Image
Click the upload button or drag and drop your photo into the upload area. You can upload JPG, PNG, and most standard image formats.
Step 3 — Let the Tool Compress Automatically
The compressor analyzes your image and automatically applies optimized compression, balancing file size reduction against visual quality. There is no need to guess at compression percentages or risk over-compressing manually.
Step 4 — Compare and Download
Once compression is complete, you can preview the result. Click Download to save the compressed image to your device, ready to attach to your email.
The entire process typically takes just a few seconds, even for high-resolution photos, and the resulting file size reduction is usually dramatic — often shrinking a 5MB photo down to under 500KB with no visible blur.
How to Compress an Image on iPhone for Email
The iPhone has a few built-in ways to reduce image size before attaching it to an email, though the results are less precise than those of a dedicated compression tool.
Method 1 — Use the Mail App's Built-In Size Options:
- Open the Mail app and start a new email
- Tap the attachment icon and select your photo from Photos
- After attaching, tap the photo and look for size options (Small, Medium, Large, Actual Size)
- Select Small or Medium — iPhone will automatically resize and compress the image before sending
This method is convenient but reduces image dimensions rather than applying smart compression, which can sometimes affect clarity more than necessary. For better quality control, compress the image first using, then attach the already-optimized file to your email.
Method 2 — Screenshot Compression Trick:
For screenshots specifically, take the screenshot, then re-save it using the Photos app's Markup tool and export it at slightly reduced quality to shrink the file size. However, this is inconsistent — the dedicated compressor tool gives far more reliable results
How to Compress an Image on Android for Email
Android devices vary by manufacturer, but most offer similar options.
Using Google Photos:
- Open Google Photos and select the image
- Tap the three-dot menu and look for a Compress or backup quality option
- If using Google Photos backup with "Storage saver" quality, your photo is automatically compressed when synced
Using a Browser-Based Compressor (Recommended):
- Open your mobile browser and go to Image Compressor.
- Upload your photo from your gallery
- Let the tool compress it automatically
- Download the compressed file
- Attach the downloaded file to your email
This browser-based method gives you consistent, predictable results across any Android device, regardless of manufacturer-specific settings.
How to Compress an Image on Mac for Email
Mac users have a built-in option using Preview, plus the option to use a dedicated online compressor for more control.
Using Preview:
- Open the image in Preview
- Go to Tools, then Adjust Size
- You can reduce pixel dimensions here, which lowers the file size
- Alternatively, go to File, then Export, and choose JPEG format with a quality slider — lowering the quality slider reduces file size while keeping dimensions intact
The quality slider in Preview's export function is essentially manual lossy compression — moving it to around 60-80% quality typically strikes a strong balance between file size and visual clarity for email purposes.
For a faster, more consistent result without manually testing quality levels, upload your photo to Image Compressor instead — it applies optimized compression automatically.
How to Compress an Image on Windows for Email
Windows offers a basic built-in resizing option through the Photos app and File Explorer, though native compression control is limited.
Using the Photos App:
- Open the image in the Photos app
- Click the three-dot menu and select Resize
- Choose a smaller preset size (this reduces dimensions, not true compression)
Using Paint:
- Open the image in Microsoft Paint
- Go to Resize, reduce the percentage or pixel dimensions
- Save as JPEG, which applies some compression automatically
For genuine quality-preserving compression rather than just resizing, the free image compressor remains the fastest and most reliable method on Windows, as it applies proper lossy compression algorithms rather than simply shrinking dimensions.
How to Compress an Image to a Specific File Size (1MB, 500KB, or Smaller)
Many email systems, application portals, and job application forms specify an exact maximum file size — commonly 1MB, 500KB, or even 200KB. Here is how to reliably hit a target size.
Start with the original, uncompressed image. Upload it to the Free Converters image compressor. The tool automatically applies strong, optimized compression that typically reduces most standard photos to under 1MB or 500KB without visible quality loss, since modern compression algorithms are highly efficient in this range.
If the resulting file is still larger than your specific target, you have two options: compress it a second time (most tools allow this, though additional rounds of lossy compression can begin to show quality loss after the second or third pass), or slightly reduce the image dimensions first using a resize tool, then compress again.
For most standard photos taken on a modern smartphone, a single pass through a good compressor reliably reduces the file size to well under 1MB while maintaining visual sharpness.
How to Compress a Scanned Document Image for Email
Scanned documents — IDs, certificates, forms — have different compression needs than photographs, because clarity of text and fine lines matters more than color gradients.
When compressing scanned documents:
- Avoid extremely aggressive compression, since text edges become blurry or blocky faster than photographic content
- PNG format is sometimes better for scanned text documents with high contrast, since lossless compression preserves sharp edges
- If using JPG, keep compression moderate rather than maximum, to avoid the characteristic "JPEG halo" effect around text characters
Upload your scanned image to Image Compressor and check the result carefully before sending — text-heavy images benefit from a slightly lighter compression setting than typical photographs.
Email Attachment Size Limits — Gmail, Outlook, and Others
Knowing the actual size limits helps you understand how much compression you really need.
Gmail: Maximum attachment size is 25MB per email (combined across all attachments). For attachments larger than 25MB, Gmail automatically converts them to a Google Drive link instead.
Outlook (Microsoft 365 / Outlook.com): Standard attachment limit is 20MB to 25MB, depending on the account type and organization settings. Outlook.com typically allows up to 20MB total per email.
Yahoo Mail: Maximum attachment size is 25MB per email.
While these limits sound generous, the real issue is usually multiple high-resolution photos combined into a single email, or recipient-side limits stricter than your own sending limit. A 12-megapixel smartphone photo can easily be 4 to 8MB uncompressed — attach five or six of those, and you can hit Gmail's limit even though each individual photo seems reasonably sized.
Compressing each image down to under 1MB before attaching keeps you comfortably within any provider's limit, even when sending multiple photos in a single email.
Best Image Size for Email — Practical Recommendations
For Standard Email Photo Attachments: Aim for under 1MB per image, with pixel dimensions around 1600 x 1200 for most general-purpose photo sharing. This balances clarity with practical file size.
For Email Signature Images: Keep logo or headshot images small — ideally under 50KB to 100KB and no larger than 300 to 400 pixels wide. Large signature images slow down email loading and can trigger spam filters in some email clients.
For Embedded Email Marketing Images (newsletters, campaigns): Keep individual images under 200KB where possible, and ideally keep the total email size (including all images) under 1MB to ensure fast loading across all devices and email clients, including mobile devices.
For Resume or Job Application Photo Attachments: Compress to under 500KB to ensure smooth uploads to application portals and fast loading for hiring managers, while preserving sufficient quality for a clear, professional headshot.
Why Choose Free Converters for Image Compression
Free Converters offers a genuinely reliable, no-frills image compression tool built for exactly this kind of everyday problem.
Completely free — no subscription, no hidden charges, no premium tier required to compress your images. No account required — upload, compress, and download without signing up. No watermarks — your compressed image comes out clean, with nothing added. Smart compression — the algorithm balances file size reduction against visual quality automatically, so you do not need to guess at settings. Works on any device — desktop, laptop, tablet, or smartphone, entirely through your browser.
Beyond image compression, Free Converters offers a complete toolkit for related tasks. If you need to convert formats before or after compression, the image converter handles virtually any format. For PNG images you want to convert to JPG (which often compresses more efficiently for photos), the PNG to JPG converter is ready to use. And if your final compressed images need to be combined into a single document, the JPG-to-PDF converter merges them instantly.
You can explore the complete free toolkit at image compressor — every tool is designed to be fast, clean, and genuinely useful for everyday digital tasks.
Practical Tips for Compressing Images Without Losing Quality
Always compress, never just resize, if quality matters. Resizing alone reduces file size but can leave images looking small and cramped when viewed at larger sizes. Smart compression preserves dimensions while intelligently reducing data size.
Compress once with a quality tool rather than multiple times with a basic tool. Each additional round of lossy compression compounds the quality loss. One pass through a well-built compressor like the one at Free Converters is almost always better than three passes through a basic, manual tool.
Match the format to the content. Photos compress best as JPG. Screenshots, scanned text, and graphics with sharp edges or flat colors often compress better as PNG, even though PNG files start larger.
Check the result before sending. Always preview the compressed image at full size before attaching it to an important email — a resume, a job application, or a client deliverable — to confirm the quality meets your standard.
Compress before attaching, not after. Letting your email client auto-compress (like iPhone Mail's size options) gives you less control than compressing first with a dedicated tool and attaching the already-optimized file.
Key Takeaways
- Blurriness after compression happens from over-compression, not compression itself — a well-calibrated tool avoids this entirely
- Lossy compression (JPEG) achieves much smaller file sizes than lossless compression (PNG), with virtually no visible quality loss at moderate levels
- Resizing and compressing are different processes — compressing preserves dimensions while reducing data size, which is usually the better choice for email
- The Free Converters image compressor applies smart, automatic compression that balances file size and visual clarity
- Gmail allows up to 25MB per email, Outlook around 20-25MB, and Yahoo Mail 25MB — compressing each photo to under 1MB keeps you safely within any limit
- For job applications and resumes, compress photos to under 500KB while preserving professional clarity
- One pass through a quality compression tool beats multiple passes through a basic one
Frequently Asked Questions
How do I compress an image for email without it looking blurry?
Use a smart, automatic image compressor like the one at rather than manually resizing or over-compressing. These tools reduce file size by optimizing data efficiently while preserving visual sharpness, typically cutting file size by 60 to 90 percent with no visible quality loss.
What is the difference between resizing and compressing an image?
Resizing reduces an image's pixel dimensions, which can make it look small or blurry when viewed larger than its new size. Compressing keeps the original dimensions but reduces the data used to store color and detail, shrinking the file size while preserving visual clarity at the original size.
Why does my compressed image look pixelated or blurry?
This happens when compression is pushed too aggressively, causing the algorithm to discard too much pixel detail. A well-built compression tool automatically finds the optimal balance, achieving significant file size reduction without visible quality loss. Manually compressing too many times or using a low-quality tool increases the risk of visible blur.
What is the best free tool to compress an image for email?
The Free Converters image compressor is a strong free option. It works in your browser with no account or software needed, applies optimized compression automatically, and adds no watermark to your finished image.
What is Gmail's attachment size limit?
Gmail allows up to 25 MB total per email, across all attachments combined. For files larger than that, Gmail automatically converts the attachment into a Google Drive link. Compressing your images to under 1MB each keeps you well within this limit, even when attaching multiple photos.
How small should an image be for email?
For general email attachments, aim for under 1MB per image. For email signatures, aim for under 100KB. For resume or job application photos, under 500KB is a safe target that balances upload speed with professional image quality.
Conclusion — Compress Smarter, Not Just Smaller
The goal of image compression for email is never just "make the file as small as possible." It is finding the point where the file size drops dramatically while the visual quality remains completely intact to the human eye. That balance is exactly what a well-built compression tool delivers automatically — no guesswork, no manual quality sliders, no trial and error.
Stop letting email clients auto-compress your photos into blurry, pixelated versions of themselves. Compress your images properly first, using a tool built specifically for quality-preserving compression, and attach a clean, professional, fast-loading file every time.
Try the free image compressor on your next photo before attaching it to an email, a job application, or a client deliverable — and explore the complete free toolkit for every other file conversion task on your list.