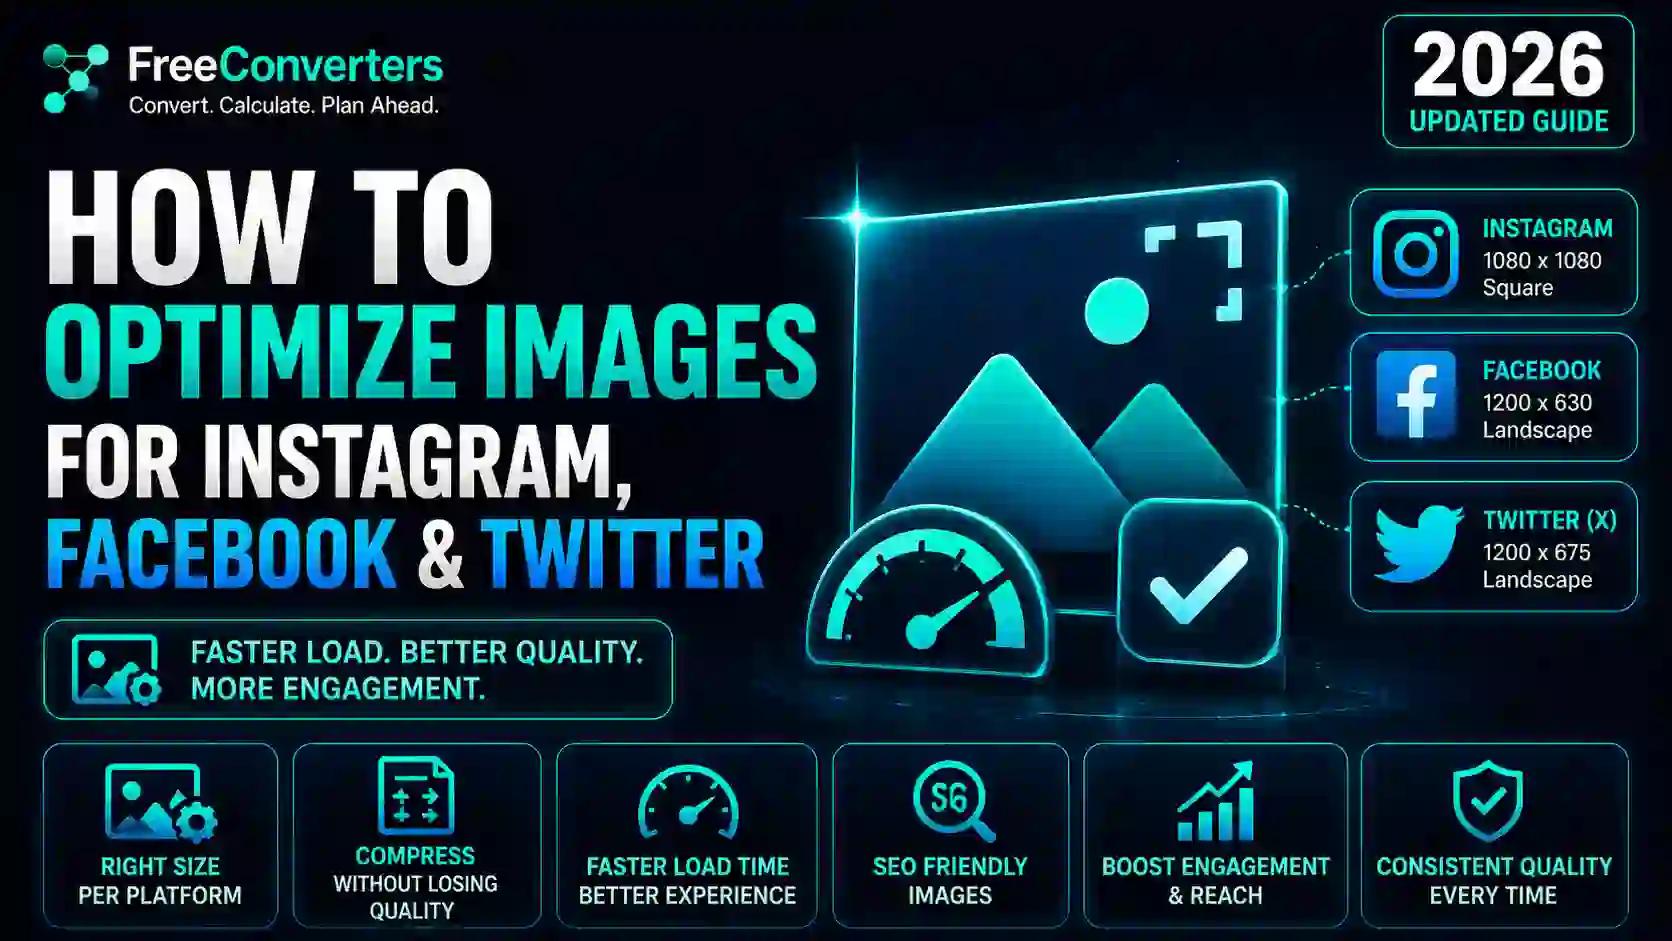
How to Optimize Images for Instagram, Facebook and Twitter
If your images look blurry, load slowly, or get cropped strangely on social media, you're losing engagement before anyone even reads your caption. Optimizing images for Instagram, Facebook, and Twitter (X) means using the right size, format, resolution, and compression for each platform — so your visuals look sharp, load fast, and perform well in every feed, story, and ad placement. This guide walks you through exact dimensions, the best formats, free tools, and expert tips to get it right every time.
Why Image Optimization Matters for Social Media
Every platform compresses and resizes images automatically once you upload them. If you upload the wrong size or an unoptimized file, the platform's own compression algorithm does the job poorly — and the result is pixelation, awkward cropping, or a slow-loading post that hurts your reach.
Here's what proper image optimization for social media actually gives you:
- Faster load times – smaller file sizes mean your image appears instantly, even on slow mobile connections.
- Sharper visuals – correctly sized images avoid the blur caused by platform-side upscaling or downscaling.
- Better engagement rate – posts with crisp, well-cropped images consistently get more likes, shares, and comments.
- Improved algorithm performance – Instagram, Facebook, and Twitter's algorithms favor content that keeps users on the platform longer, and fast-loading, high-quality images support that.
- Stronger brand image – consistent, professional visuals build trust and authority (a core part of E-E-A-T signals search engines also reward).
Social Media Image Sizes: The Complete Comparison Table
Platform | Placement | Recommended Size | Aspect Ratio | Format | Max File Size
Instagram | Square Post | 1080 x 1080 px | 1:1 | JPEG/PNG | 30 MB
Instagram | Portrait Post | 1080 x 1350 px | 4:5 | JPEG/PNG | 30 MB
Instagram | Story/Reel | 1080 x 1920 px | 9:16 | JPEG/PNG/MP4 | 30 MB
Instagram | Profile Picture | 320 x 320 px | 1:1 | JPEG/PNG | 5 MB
Facebook | Shared Post | 1200 x 630 px | 1.91:1 | JPEG/PNG | 30 MB
Facebook | Cover Photo | 820 x 312 px (desktop) | 2.63:1 | JPEG/PNG | 100 MB
Facebook | Profile Picture | 170 x 170 px | 1:1 | JPEG/PNG | 30 MB
Facebook | Event Cover | 1920 x 1005 px | 1.91:1 | JPEG/PNG | 30 MB
Twitter (X) | In-Stream Image | 1200 x 675 px | 16:9 | JPEG/PNG | 5 MB
Twitter (X) | Header Image | 1500 x 500 px | 3:1 | JPEG/PNG | 5 MB
Twitter (X) | Profile Picture | 400 x 400 px | 1:1 | JPEG/PNG | 2 MB
Keep this table bookmarked — platform specs change occasionally, but these are the current standard dimensions used by most social media managers in 2026.
Best Image Format for Social Media: JPEG vs PNG vs WebP
Choosing the right file format is just as important as choosing the right size.
JPEG is the best all-around choice for photos and complex images. It compresses well and keeps file sizes small without a dramatic quality loss, which is why Instagram, Facebook, and Twitter all default to JPEG for photo uploads.
PNG is better for logos, graphics, and images with transparent backgrounds or sharp text, since it uses lossless compression. The tradeoff is a larger file size, so only use PNG when transparency or crisp edges really matter.
WebP is a newer format built for the web that typically produces 25–35% smaller files than JPEG at a similar visual quality. It's excellent for website images but isn't yet universally supported for direct social media uploads, so most creators convert WebP to JPEG or PNG before posting.
If you're unsure which format fits your image, this breakdown of PNG vs JPG vs WebP: choosing the best image format explains the technical differences in more depth, and you can convert between formats instantly using a free image converter tool.
How to Optimize an Image for Instagram, Facebook, and Twitter (Step-by-Step)
Step 1: Start With the Right Aspect Ratio
Before you resize anything, crop your image to match the platform's aspect ratio (1:1 for Instagram square posts, 1.91:1 for Facebook link posts, 16:9 for Twitter images). Cropping first prevents the platform from auto-cropping important parts of your image later.
Step 2: Resize to the Exact Recommended Dimensions
Use the comparison table above as your reference. Uploading an image far larger than needed doesn't improve quality — the platform still compresses it down, often producing worse results than if you'd resized it properly yourself.
Step 3: Compress Without Losing Quality
Once resized, run your image through a compressor to shrink the file size while preserving visual quality. A free image compressor can reduce file size by 60–80% with barely noticeable quality loss — ideal before uploading to any platform. If you're sending visuals by email rather than posting them, this guide on how to compress an image for emailcovers size limits and best practices too.
Step 4: Choose the Correct File Format
Save your final image as JPEG for photos or PNG for graphics with transparency. If your original file is in HEIC (common on iPhones) or WebP, convert it first using aHEIC to JPG converter or WebP to JPG converter so every platform can display it correctly.
Step 5: Check Resolution for Retina Displays
Aim for images at least 72–150 DPI at the exact pixel dimensions listed above. This keeps images sharp on retina and high-density mobile screens without inflating file size unnecessarily.
Step 6: Add Alt Text and Metadata
Instagram, Facebook, and Twitter all allow custom alt text on images. Adding a short, descriptive alt text (not keyword-stuffed) improves accessibility and helps the platform's algorithm — and search engines — understand what your image shows.
Step 7: Test Before You Publish
Preview your post on both mobile and desktop before publishing. Cropping and cover-photo overlays often look different across devices, so a quick check avoids awkward surprises after you post.
Free Tools to Optimize Images for Social Media
You don't need expensive software to get professional results. These free tools cover the entire workflow:
- Image Compressor – shrink file size while keeping quality high:image-compressor
- Image Converter – switch between JPEG, PNG, WebP, and more:image-converter
- PNG to JPG Converter – for smaller photo file sizes:png-to-jpg-converter
- JPG to PNG Converter – when you need transparency support:jpg-to-png
- WebP to PNG Converter – convert modern web images for social use: webp-to-png-converter
- SVG to PNG Converter – turn vector logos into social-ready graphics: svg-to-png-converter
- YouTube Thumbnail Downloader – grab and repurpose thumbnail images for cross-platform posts:Youtube thumbnil downloader
For a broader toolkit built specifically for creators, check out this list offree tools for content creators, and see why so many marketers now choose free online tools over paid software for everyday image tasks.
Instagram Image Optimization: What You Need to Know
Instagram is the most visually driven platform, so image quality has an outsized impact on performance.
- Feed posts perform best at 1080 x 1350 px (4:5 portrait), since this ratio takes up more vertical screen space than a square post.
- Stories and Reels require 1080 x 1920 px (9:16) — anything smaller gets stretched and blurred.
- Carousels should keep every image in the same aspect ratio; mixing ratios creates jarring crops between slides.
- Instagram compresses images uploaded above 1080px wide, so there's no benefit to uploading anything larger — it only slows your upload and wastes storage.
Facebook Image Optimization: What You Need to Know
Facebook handles images differently depending on placement.
- Shared link posts use a 1.91:1 ratio (1200 x 630 px) — this is also the size search engines and link previews use, so it doubles as your Open Graph image.
- Cover photos are wide and short (820 x 312 px on desktop), and Facebook crops differently on mobile, so keep key text or faces centered.
- Facebook still favors JPEG for photos and PNG for graphics with sharp lines or text overlays.
- Business Pages managed through Meta Business Suite get an in-platform image cropping preview — always use it before publishing an ad or cover photo.
Twitter (X) Image Optimization: What You Need to Know
Twitter compresses images more aggressively than Instagram or Facebook, so getting the format and size right matters even more.
- In-stream images display best at 1200 x 675 px (16:9).
- Twitter Cards (used when sharing links) pull a 1200 x 628 px image automatically if you've set the correct Open Graph meta tags on your website.
- Header images are wide (1500 x 500 px), and important details should stay within the center-safe zone, since profile pictures overlap the bottom-left corner.
- Twitter has a lower max file size (5 MB for images), so compression before upload is essential to avoid the platform's own harsher recompression.
Common Mistakes That Hurt Image Quality on Social Media
- Uploading oversized images and letting the platform compress them — this almost always looks worse than resizing yourself first.
- Ignoring aspect ratio, which leads to awkward auto-cropping that cuts off faces or text.
- Using PNG for every image, which unnecessarily bloats file size for standard photos.
- Skipping compression, resulting in slow-loading posts that hurt visibility, especially in Stories and ads.
- Not testing on mobile, where most social media traffic actually happens.
Why Choose Free Convertors for Image Optimization
Free Convertors gives you every tool needed to prep images for social media in one place — compression, format conversion, resizing, and more — without watermarks, sign-ups, or software downloads. Whether you're batch-processing images for a content calendar or fixing a single Instagram post, you can explore advanced tools at Free Convertors and get publish-ready images in seconds. For a deeper look at how proper compression affects site speed and search rankings too, read how compressing images improves speed, storage, and SEO.
Frequently Asked Questions
What is the best image size for Instagram posts? The best size for a standard Instagram feed post is 1080 x 1080 px for square, or 1080 x 1350 px for portrait posts, since portrait images take up more screen space and tend to get more engagement.
What image format does Facebook prefer? Facebook prefers JPEG for photographs because it balances quality and file size well. PNG is better only for graphics, logos, or images that need a transparent background.
How do I optimize images without losing quality? Resize the image to the platform's exact recommended dimensions first, then run it through a compression tool that reduces file size while preserving visual detail — avoid compressing an image multiple times, as quality loss compounds with each pass.
What is the ideal image resolution for social media? Most platforms display images well at 72–150 DPI, matched to the exact pixel dimensions required for that platform and placement (feed post, story, cover photo, and so on).
Why are my Instagram photos blurry after uploading? This usually happens when the uploaded image is smaller than Instagram's required dimensions, forcing the platform to stretch it, or when the image was heavily compressed before uploading, leaving too little quality for Instagram's own compression to work with.
What size should a Twitter header image be? A Twitter (X) header image should be 1500 x 500 px, with any important text or graphics kept away from the bottom-left corner, since the profile picture overlaps that area.
Do I need different image sizes for each social platform? Yes. Each platform crops and displays images differently, so using one universal size usually results in awkward cropping on at least one platform — it's best to resize separately for Instagram, Facebook, and Twitter.
What's the difference between JPEG, PNG, and WebP for social media? JPEG is best for photos and general use due to its small file size, PNG is best for graphics needing transparency or sharp edges, and WebP offers the smallest file sizes overall but has more limited native support for direct social media uploads.
Final Thoughts
Optimizing images for Instagram, Facebook, and Twitter isn't complicated once you know the right dimensions, formats, and compression steps for each platform. Following this guide — resizing correctly, compressing smartly, and choosing the right file format — will keep your visuals sharp, your load times fast, and your engagement higher across every platform you post to.
Ready to put this into practice?Compress, resize, and convert your images for free at Free Convertors and get every post publish-ready in seconds.
For further reading on how platform algorithms weigh page and media speed, see Google's official guidance on optimizing images for web performance.